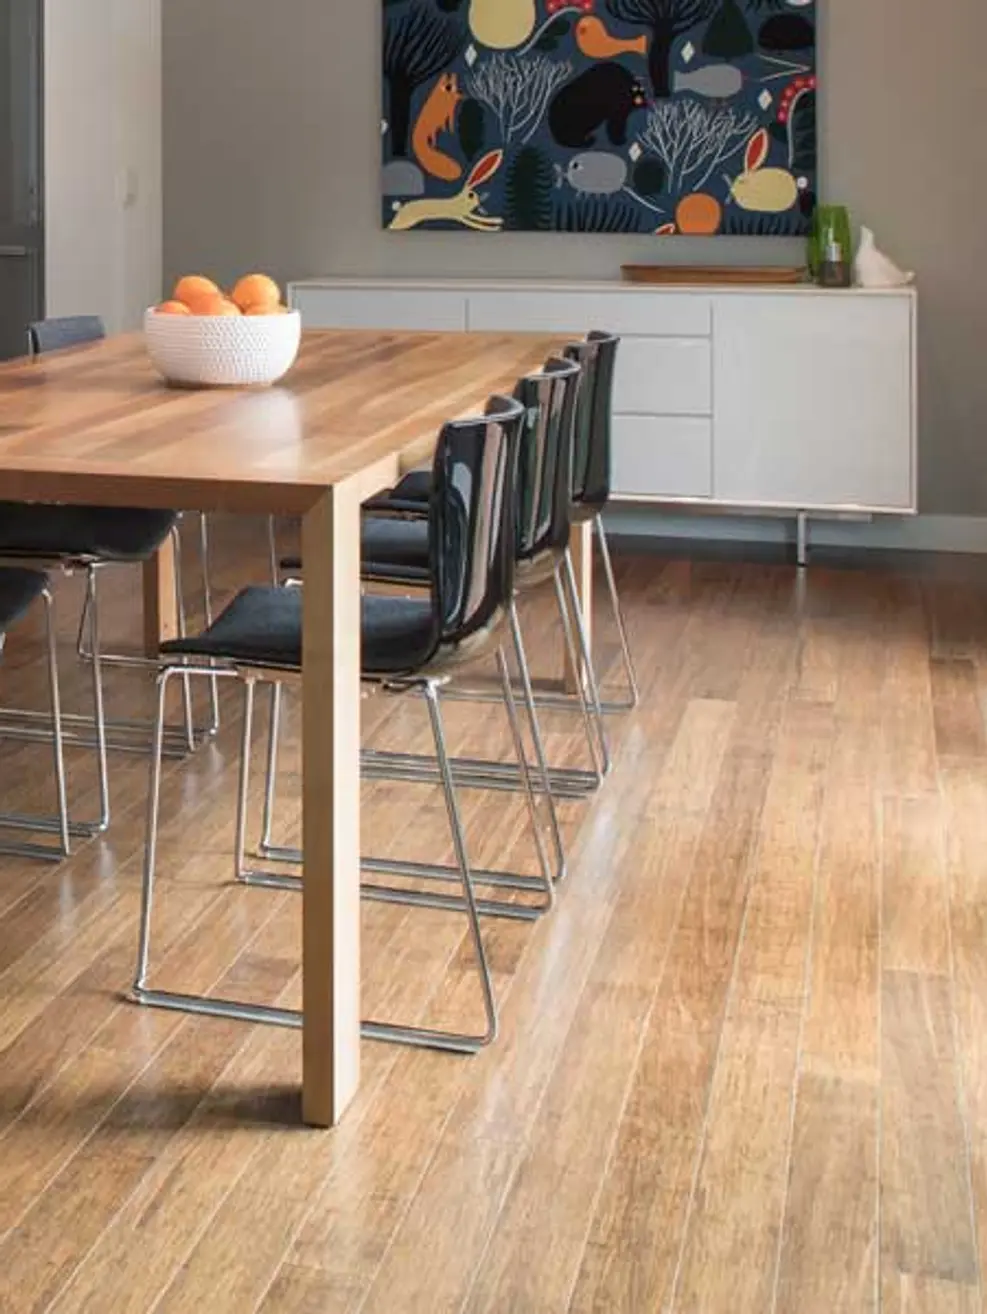
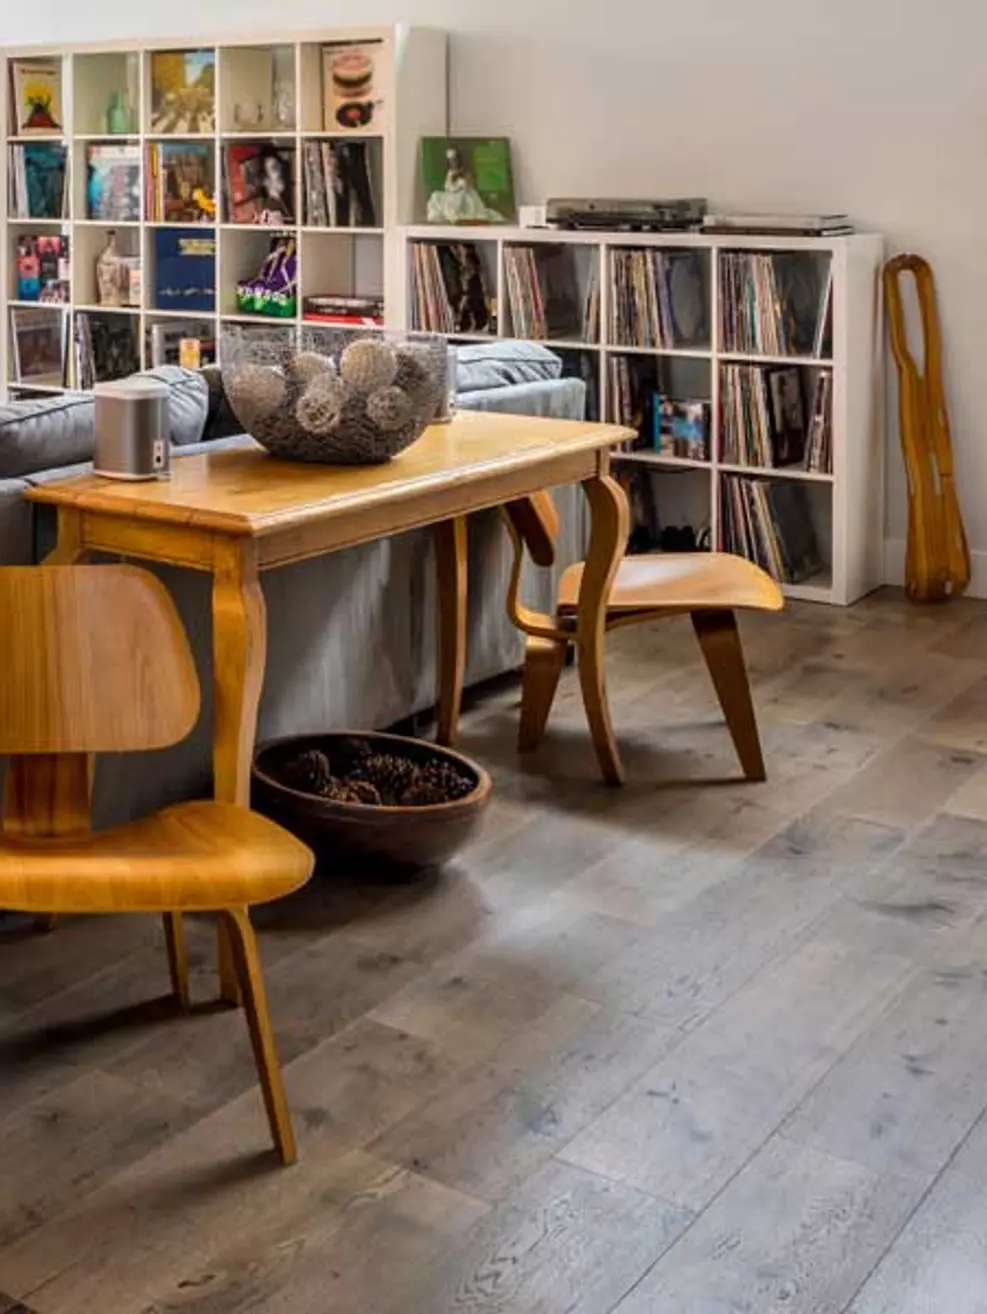
Before You Begin: Essential Preparations
- Choose Your Solid Wood Flooring: Consider factors like wood species, plank width, finish, and grade. Ensure you purchase enough flooring to account for waste during cutting (typically 10-15% extra).
- Acclimatization is Key: Allow your solid wood flooring to acclimatize to your home's environment for several days before installation. This minimizes the risk of warping or gapping after installation.
- Prepare the Subfloor: Ensure your subfloor is clean, level, dry, and structurally sound. Address any unevenness by sanding high spots or filling in low areas. Moisture barriers might be necessary depending on your subfloor type.
- Gather Your Tools: You'll need a miter saw, circular saw (optional), jigsaw, hammer, nail gun (optional), tape measure, tapping block, pull bar, and safety equipment like gloves and eye protection.
Solid Wood Flooring Installation: Step-by-Step
Plan the Layout: Sketch a layout plan to minimize waste and ensure a visually pleasing arrangement. Decide on the direction of the planks (typically parallel to the longest wall for a sense of expansion).Start with the First Row: Leave an expansion gap of approximately ¼ inch along the walls using spacers. Secure the first plank with nails or glue according to the manufacturer's recommendations and the specific subfloor type.
Cutting and Joining Planks: Use a miter saw for precise cuts when starting and ending rows, and around corners. Tongue-and-groove planks typically interlock for a seamless connection. For a tighter fit, use tapping block and hammer gently.
Subsequent Rows: Continue laying subsequent rows, ensuring each plank connects securely to the previous one. Stagger plank ends for a more natural look. Utilize a pull bar to close any stubborn gaps.
Cutting Around Obstacles: For pipes or other obstacles, measure carefully and use your jigsaw to create precise cutouts for a clean fit.
The Last Row: You might need to rip-cut the final row planks to fit snugly against the wall while maintaining the expansion gap.
Trimming the Door Casings (Optional): Depending on the thickness of your flooring, you might need to adjust doorways to ensure smooth transitions.
Installation of Shoe Moulding (Optional): Shoe moulding covers the expansion gap along the wall and adds a finished touch to your floor. Use a miter saw for angled cuts at corners.
Finishing Touches:
- Clean Up: Remove spacers and debris.
- Installation of Floor Vents (if applicable): Ensure proper air circulation by reinstalling vents with appropriate adapters for your new floor height.
- Apply Finishing Touches: Depending on the pre-finished state of your flooring, you might need to apply a coat of sealant or polish according to the manufacturer's instructions.
Safety First!
- Always wear safety glasses and gloves when using power tools.
- Read and follow all manufacturer's instructions for your specific flooring and tools.
- If tackling a large project or encountering unforeseen challenges, don't hesitate to seek professional help from an experienced flooring installer.
The Wood Flooring Hub: Your Partner in DIY Solid Wood Flooring
At The Wood Flooring Hub, we empower DIY enthusiasts with the knowledge and resources to achieve stunning results. We offer a wide variety of high-quality solid wood flooring options, along with all the necessary tools and installation supplies. Our friendly staff is always happy to answer your questions and provide expert advice.
Visit our showroom or browse our online collection today. Let us help you embark on your DIY solid wood flooring project with confidence!


